Share |
Showing posts with label tutorial. Show all posts

Wednesday, September 21, 2011

Fall and Pumpkins

Fall is almost here, I love the coolness in the air, and the trees are just beginning to turn. I even like wearing long pants for a change.

So I was looking for some fall decorations and found these 2 styrofoam pumpkins that I bought years ago. They have become very faded so I decided to find a way to spruce them up. Lo and behold, I got an issue of Southern Living in the mail (bought the subscription with Coke rewards) that had an article about decorating pumpkins.

I found some fallish fabrics, put them on the printer plate and made color copies. Then I cut the papers into strips, and with Mod Podge, I stuck them to the outside of the fake pumpkins. They are cute.


And easy peasy. Sweet!!

Still working on the bracelet tutorial. Soon....

WilmaNC

Sunday, July 24, 2011

Snap Shut Bag Tutorial

I'm going to give it a try anyway. So here goes:

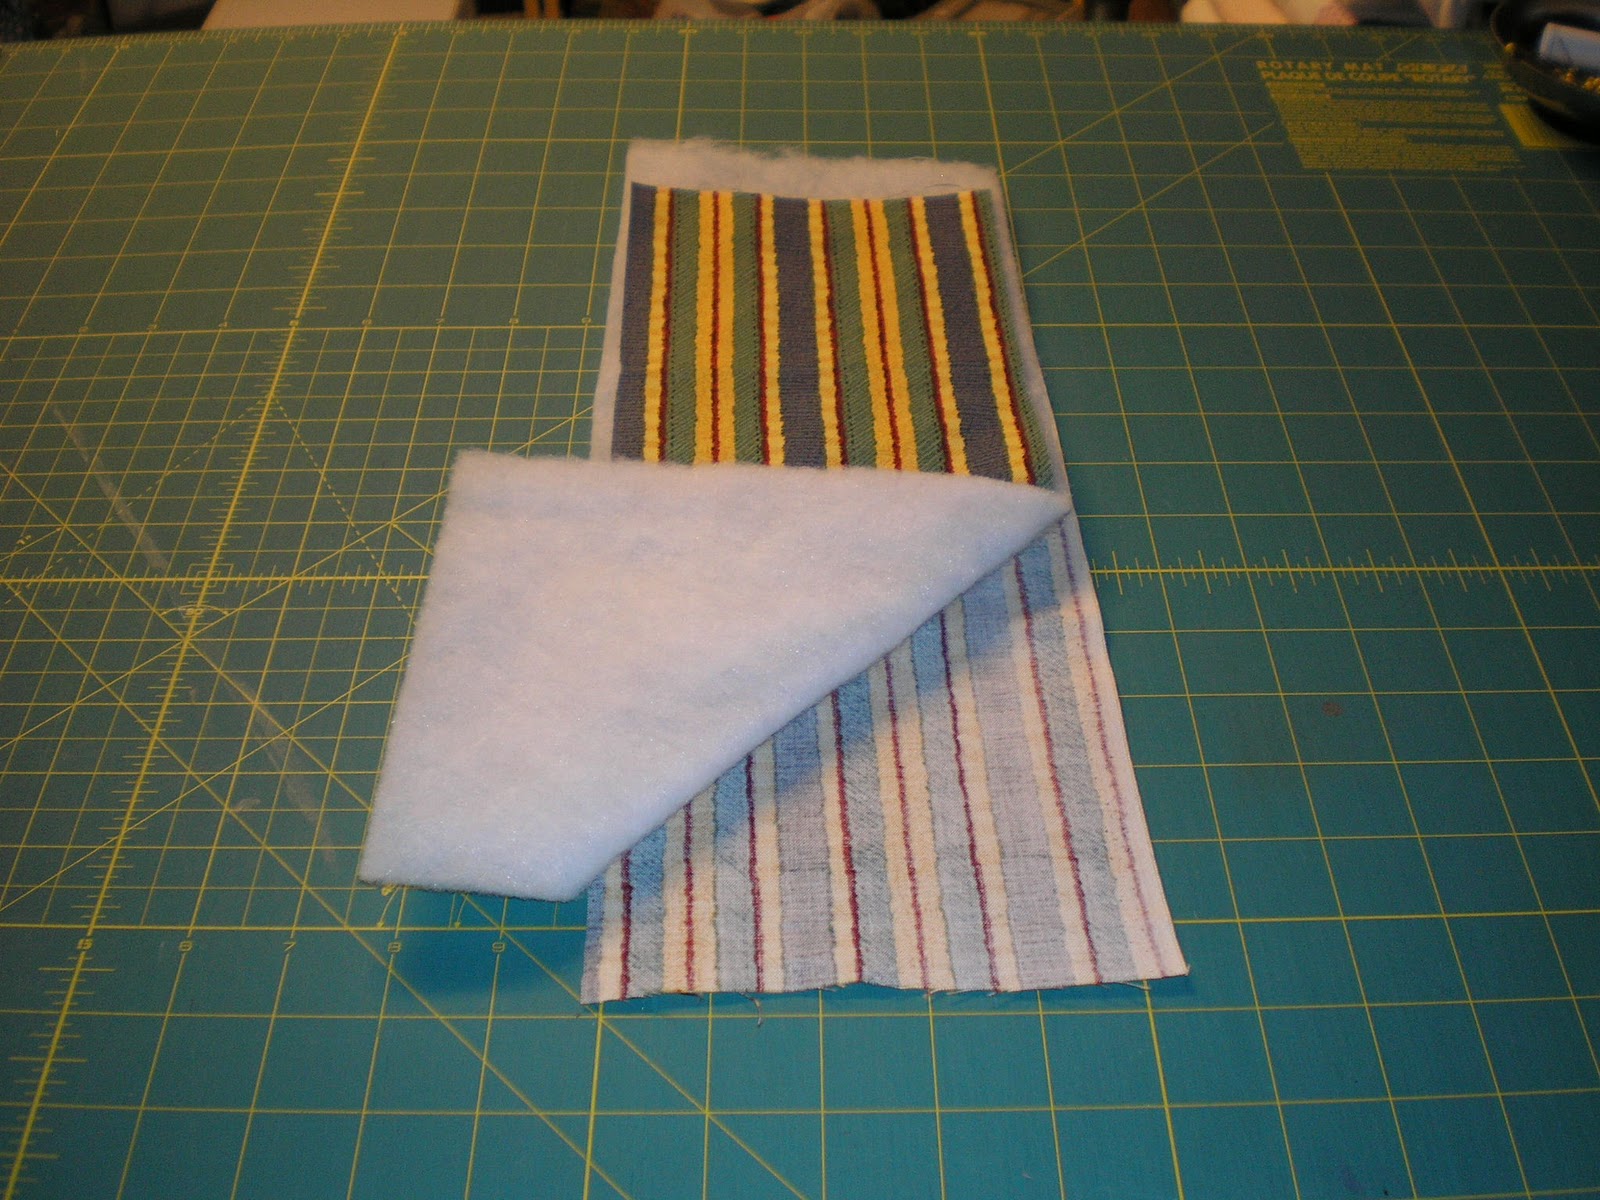
I layered and quilted a piece I wanted for the front and back, and a piece of batting. This one I cut to 5x8". You can make these any size you want.


Cut 2 pieces of fabric for the casings, 3 1/2" wide.

Lay those pieces at both ends of lining side of quilted piece, right side down.

Sew both in place using 1/2" seam.

Press away from body.

Turn piece over and fold edges down to meet edge of body, press.
 Using 2 squares of fabric, fold each in half and press.


Then fold edges to middle to make 2 prairie points. (You can make tabs, or use other shapes for these, they are what you pull to open purse.)

Place the prairie points about 1/4" below the half inch seam from the casings.

 Then fold casing over to cover edge of prairie point and secure.

Of course, do both sides.
Topstitch casings catching top of prairie points.


 Trim excess at sides.

Using very old scissors and a 3/4" metal tape measure, cut 2 pieces of the metal to about 3/4" shorter that width of casing.


Round off the edges and cover with small pieces of tape to make sure they don't rip your fabric.

Slip them into the casings with the numbers facing the lining side.

Fold up RST and stitch up sides of bag using 1/4" seam.

Make sure metal tape is far enough in from your needle. I have it sticking out one side as I sew up the first seam, then push it in as far as it will go when sewing the other side.

Finish seam using serger or zig zag stitch. ( I sure wish I had a serger...)


Turn inside out.

And you have a snap shut bag!!! Easy peasy.


You can embellish all you want, and a nice little handle is cute too.

There are many ways to make these bags, but I just hate to use interfacing and make separate linings, so I found this pretty easy.

Took all of about 20 minutes once you have your fabric ready. Purchased pre- quilted stuff works just as well, but it's cheaper to make your own using all of these small pieces of scraps.

WilmaNC

Sunday, January 9, 2011

Device Carrier Tutorial

I posted a picture of a little impromptu carrier I made for my iPod, and Gari asked me if I was going to do a tutorial. So, I am going to give it a go.

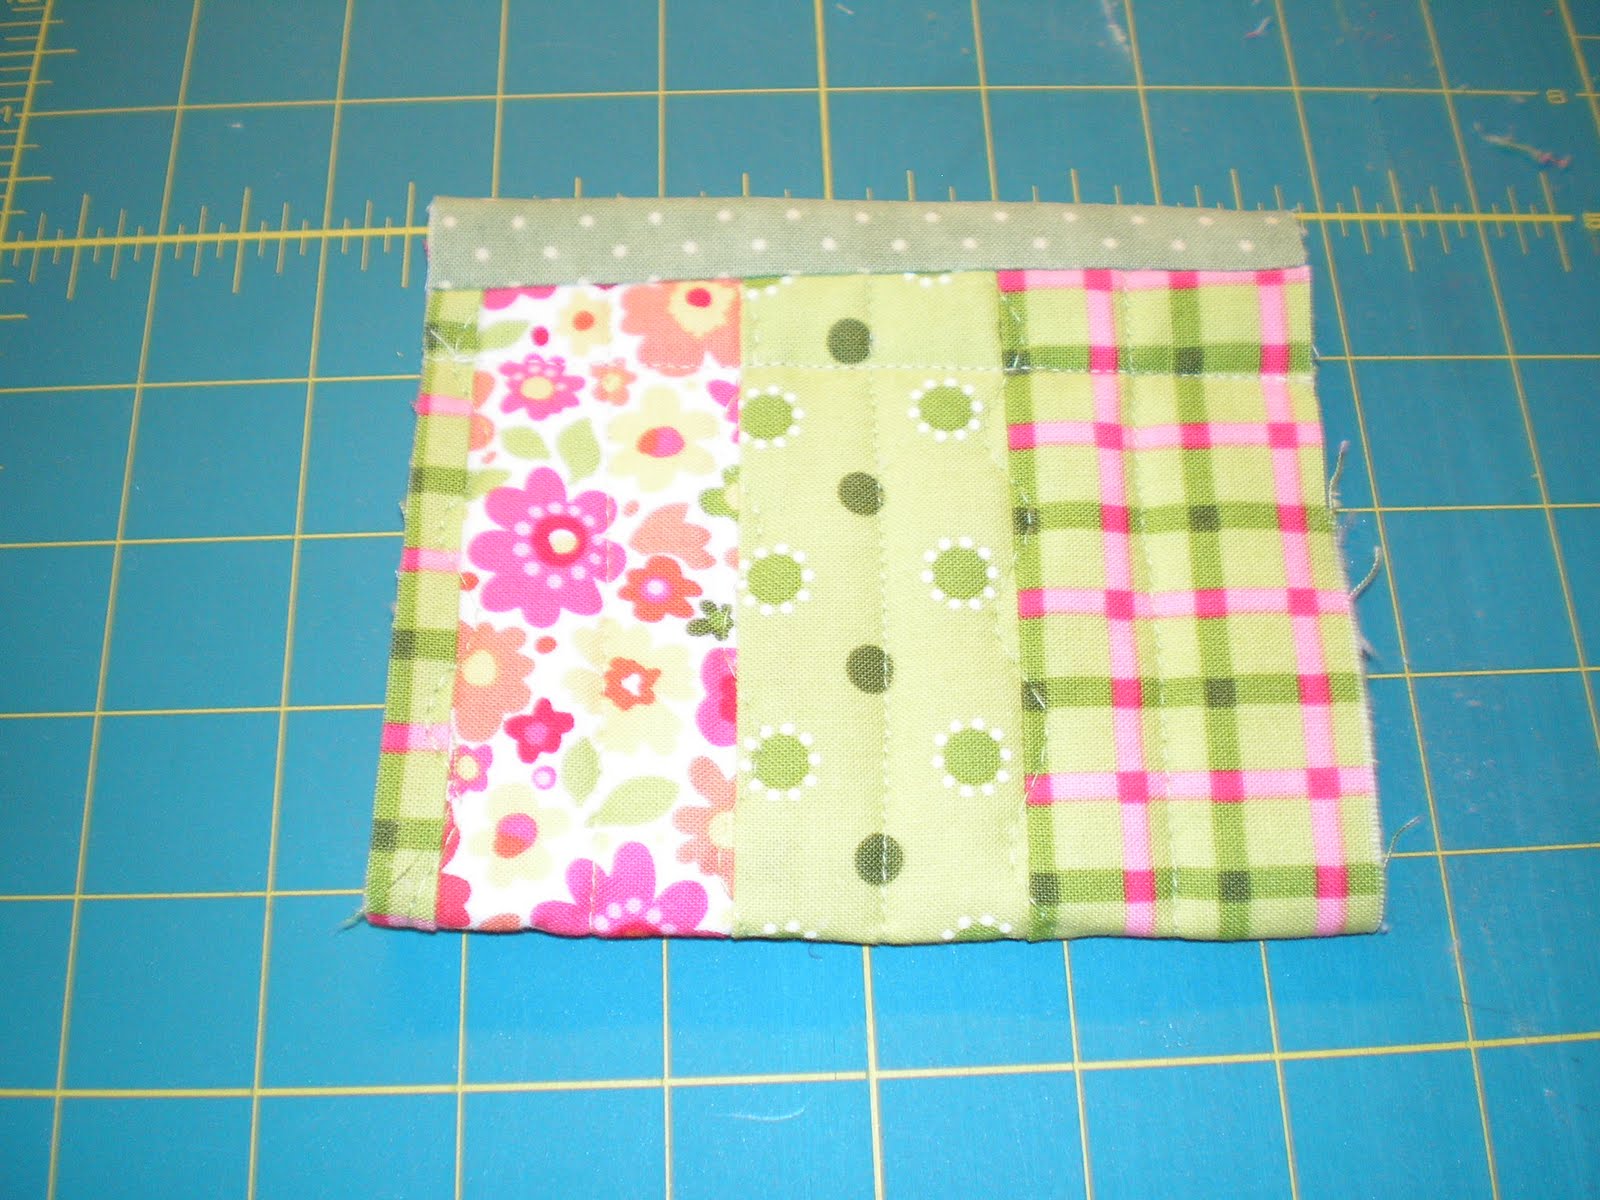
First cut 2 pieces of fabric and use some scrap batting to make a sandwich and quilt as desired. I just used straight lines.


Trim sandwich, and sew binding to top and bottom. I used single binding and turned to other side and top stitched.


Trim binding even with sides.


Lay device on sandwich and pull up edge to just cover top of device.


My iPod is sticking up a bit just to show you.


Turn to opposite side and sew up sides almost to top of pocket. (to sew on strap binding.) I forgot to do this and had to remove a bit of stitching to apply rest of binding.


Turn right side out.


Draw lines where you want your handle to be and cut the shape. The more gradual the curve, the easier it is to apply the binding.


Sew binding to curved sides of handle. This is where I had to snip some stitches...

Now go back and sew the open part at the top of the sides.


Turn right sides out. Almost finished.


Fold top down to just above opening and stitch securely. If you don't want the sewing line on the back, you could make your handle a little longer and secure with a button or snap.


And there you have it.


An Ipod (or iPhone) carrier to hook to your belt.

I hope this is clear. I think you can get the basics of what I am trying to say, but if there are any questions...

Later,
Wilma NC